
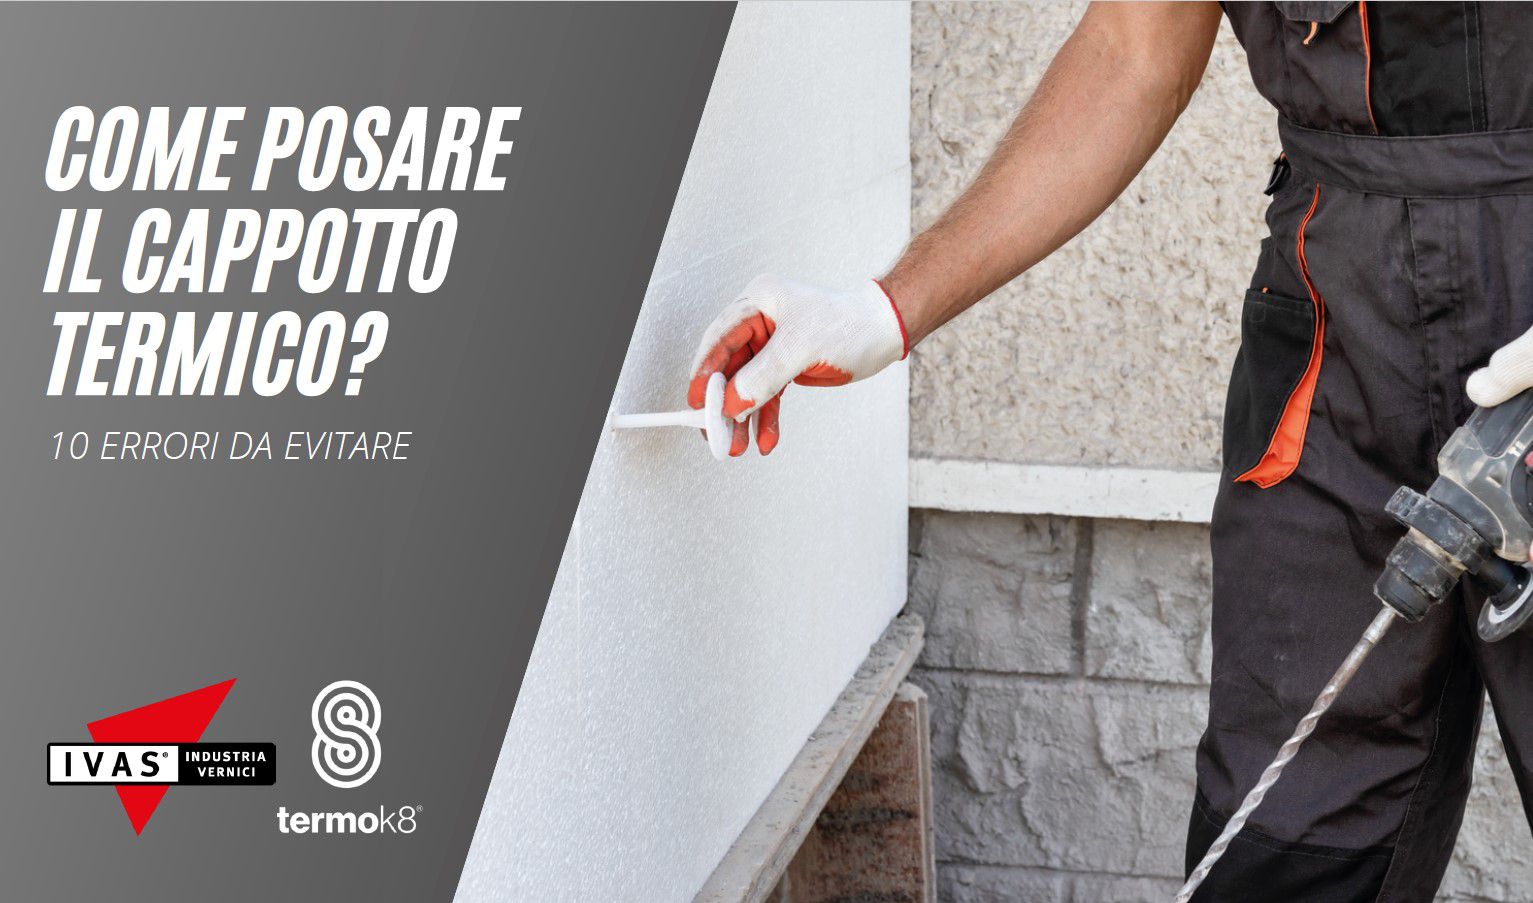
How to lay the thermal coat: the first step to take is to choose a quality and correctly designed Thermal Insulation System in all its details.
How to install properly the thermal insulation coat? Before answering this question, it is necessary to underline that the quality of an energy-efficient intervention of the building, which provides for the installation of the thermal insulation system, does not depend solely on the application of the same, but also on three key factors dependent on each other:
- the choice of quality thermal insulation systems, supplied and certified as kits by manufacturers, equipped with ETA certificate according to ETAG 004 or EAD 040083-00-0404 and CE system marking;
- the correct design and installation of the Thermal Insulation System by an expert of external thermal insulation systems and operating according to UNI/TR 11715:2018, containing the technical report on the "Design and installation of thermal insulation systems". If the designer will not determine the correct sizing of the system and how to manage the specific construction details of the project, it is likely that the installer may fall into error or that the system does not guarantee the expected results, although the installer operates on the best laying knowledge available to him;
-the correct installation of the system by installers of thermal coats whose knowledge, skills and competences are certified according to UNI 11716:2018
How to lay the external thermal insulation coat: the 11 main mistakes to avoid
A pragmatic and very useful way to answer the questions of installers on how to lay the thermal coat, is to analyze the most recurring installation errors that the companies participating in Cortexa have been able to observe over the years:
1 - Replacement of an element of the Certified Insulation System
A gross error, which can cause significant problems of effectiveness and tightness of the system, is to think that replacing an element within a certified system does not compromise the quality and performance of the system itself. The reality is that a wrong element is enough to compromise the effectiveness of the whole system.
2 - Inadequate on-site storage of the components of the Coat System
The material used to make the thermal coat must be stored in the construction site in a correct manner. The installation must be made with material that has not suffered damage: on the construction site materials and components of the system - if due attention is not paid - may lose their characteristics due to natural phenomens such as moisture, solar radiation or even to accidental impacts. If damaged materials are still used, the aesthetic defects of the facade would become immediately evident when completed. The defects in terms of performance would be found shortly thereafter.
3 - Installation of the thermal coat under inappropriate environmental conditions
The thermal coat should not be applied if the temperature drops below 5 ºC or rises above 30 ºC. Severe climatic conditions such as strong wind, direct sunlight exposure, rain, fog and excessive humidity should also be avoided as they compromise, for example, drying and gripping materials.
4 - Apply the external thermal insulation coat on a suitable support
It is essential that the support on which the Thermal Insulation System will be installed has been verified to ensure that:
- is sufficiently resistant,
- there are no surface phenomena showing the presence of moisture;
- not present phenomena which may affect the adhesion of the glue.
Proceed to the application of the coat without having done these checks and without having carried out any preparatory treatments, will compromise the adhesion of the panel to the support and therefore the stability of the entire structure.
5 - Bonding of spot insulation panels
The gluing by points, which is still too often done in the belief that it is faster and saves material, is inadequate. The UNI/TR 11715:2018 relating to the design and installation of external thermal insulation systems provides two possibilities for bonding:
- bonding at perimeter and centre points;
- full surface bonding;
The point bonding method does not guarantee stability to the system and allows external air infiltration between the support and the panel. This error will not be seen either with the naked eye or with a thermal camera - unless other anchoring errors are made that would involve the detachment of the entire system from the facade - but will be reflected in a higher energy consumption than that calculated in the phase design with thermal calculation.
6 - Material not suitable for joints between panels
The panels are to be laid starting from the bottom upwards in staggered courses and must be completely approached horizontally and vertically. There shall be no visible joints between the panels. Any small joints, resulting from the tolerances of the support, products and installation, must be filled with suitable foam if less than 5mm or, otherwise, with insulating material of the same type as that of the panels. Common mistake is to fill the joints with grout or not to fill them at all leaving an air blade. These are both very serious errors because an inhomogeneity of material is introduced into the Thermal Insulation System.
7 - Do not sand or level panels
During installation, in accordance with the tolerances related to panels and support, there may be situations in which it is necessary to eliminate "small steps" that are created between panels. This can be done either by "sanding" (for example for EPS or PU panels) or by "levelling" by shaving (for example for mineral wool or wood panels). Abrasion occurs with the use of dedicated tools, such as abrasive papers and brushes, depending on the type of insulating material of the panel. If the joint between the panels is not regularized it is possible to create different thicknesses of armed shaving and consequent cracking phenomena due to different elastic behavior of the materials.
8 - Making mistakes in the tiling phase
The tessellation phase is to be realized only after the grip and hardening of the adhesive. In certified Thermal Insulation Systems, the tiles are well identified and described and certified according to the Technical Verification defined by EAD 330335-00-0604 with categories that depend on the type of support. The choice of the dowel is then conveyed by the certified Thermal Insulation System.
The tiling provides for:
- determination of the type of support;
- determination of the quantity of dowels;
- choice of laying scheme (resulting from the chosen Insulation System);
- making the holes;
- insertion of dowels.
In this phase we focus on four main recurring errors:
1. modification of the type of dowel provided for by the certified system;
2. error in the choice of the length of the dowel;
3. error at hole execution stage;
4. evelling with adhesive mortar of the dowel head, too sunk.
9 - Reinforcement mesh of the coat supported and not drowned
The correct application of the reinforcement mesh requires first to apply the base plaster, on which to insert the fiberglass mesh from top to bottom, vertically with overlap of 10 cm between the adjacent flaps and without folds. Then apply again the skimming for the complete coverage of the mesh. A recurring error that is observed at the construction site is to lay the fiberglass mesh to the support and apply directly and then only once the base plaster. This incorrect mode of laying leads to two consequences:
- the net loses its reinforcement function and therefore the base plaster will be less stable than the external environmental stresses, with the consequent formation of cracks and therefore with aesthetic and structural problems;
- if the mesh placed between the plaster and the insulating material is not properly bonded to each other, there is a risk of having areas with the plaster that has not clung to the panel and therefore with consequent instability of the plaster with respect to the panel.
10 - Do not protect skimming
It frequently happens that, once the activities relating to the realization of the base plaster have been completed, no steps are taken to protect the shave. The absence of shaving protection (for example due to the absence of scaffolding protection) during the drying period may lead to the weakening of the shaving layer at localised points or on the whole of the shaved surface, depending on more or less unfavourable environmental conditions. Weakening the outer coating layer can lead to aesthetic but also functional problems. Once dried - after maturation - it is necessary that the armed skimming is protected with the finishing layer provided by the system.
Before we say goodbye we want to thank you reporting another typical mistake to pay attention to.
11 - Wrong grain or thickness of finishing plaster of thermal coat
For aesthetic needs we often opt for finishing plasters of too fine grain, not part of the Thermal Insulation System with certified coat. In other cases, the thickness of the applied plaster layer is wrong. These errors can lead to cracking of the layer and cause damage to the Coat System.
Source article Cortexa
How to lay the thermal coat: Trust the knowledge of Cortexa & IVAS!
If you want to improve your knowledge of thermal insulation coat laying you can participate at our courses:
>> IVAS courses | click here


